Cafe-Style Textured Milk With Just A French Press
Unleash your inner barista with this simple hack to create silky smooth milk in your own kitchen.
NOTE: This blog post contains videos that autoplay. For the best viewing experience on mobile devices avoid in-app browsers (e.g. LinkedIn Web View).
Yup, you read that right, you can create delicate micro foam in your milk using just a basic, inexpensive french press (here’s what we use – French Press). With a little bit of practice, you’ll be texturing milk like your favourite barista and eventually you can even pour great latte art. There’s more than just one way to do this, but here’s the method I use every day — it’s fool-proof, repeatable and easy to learn:
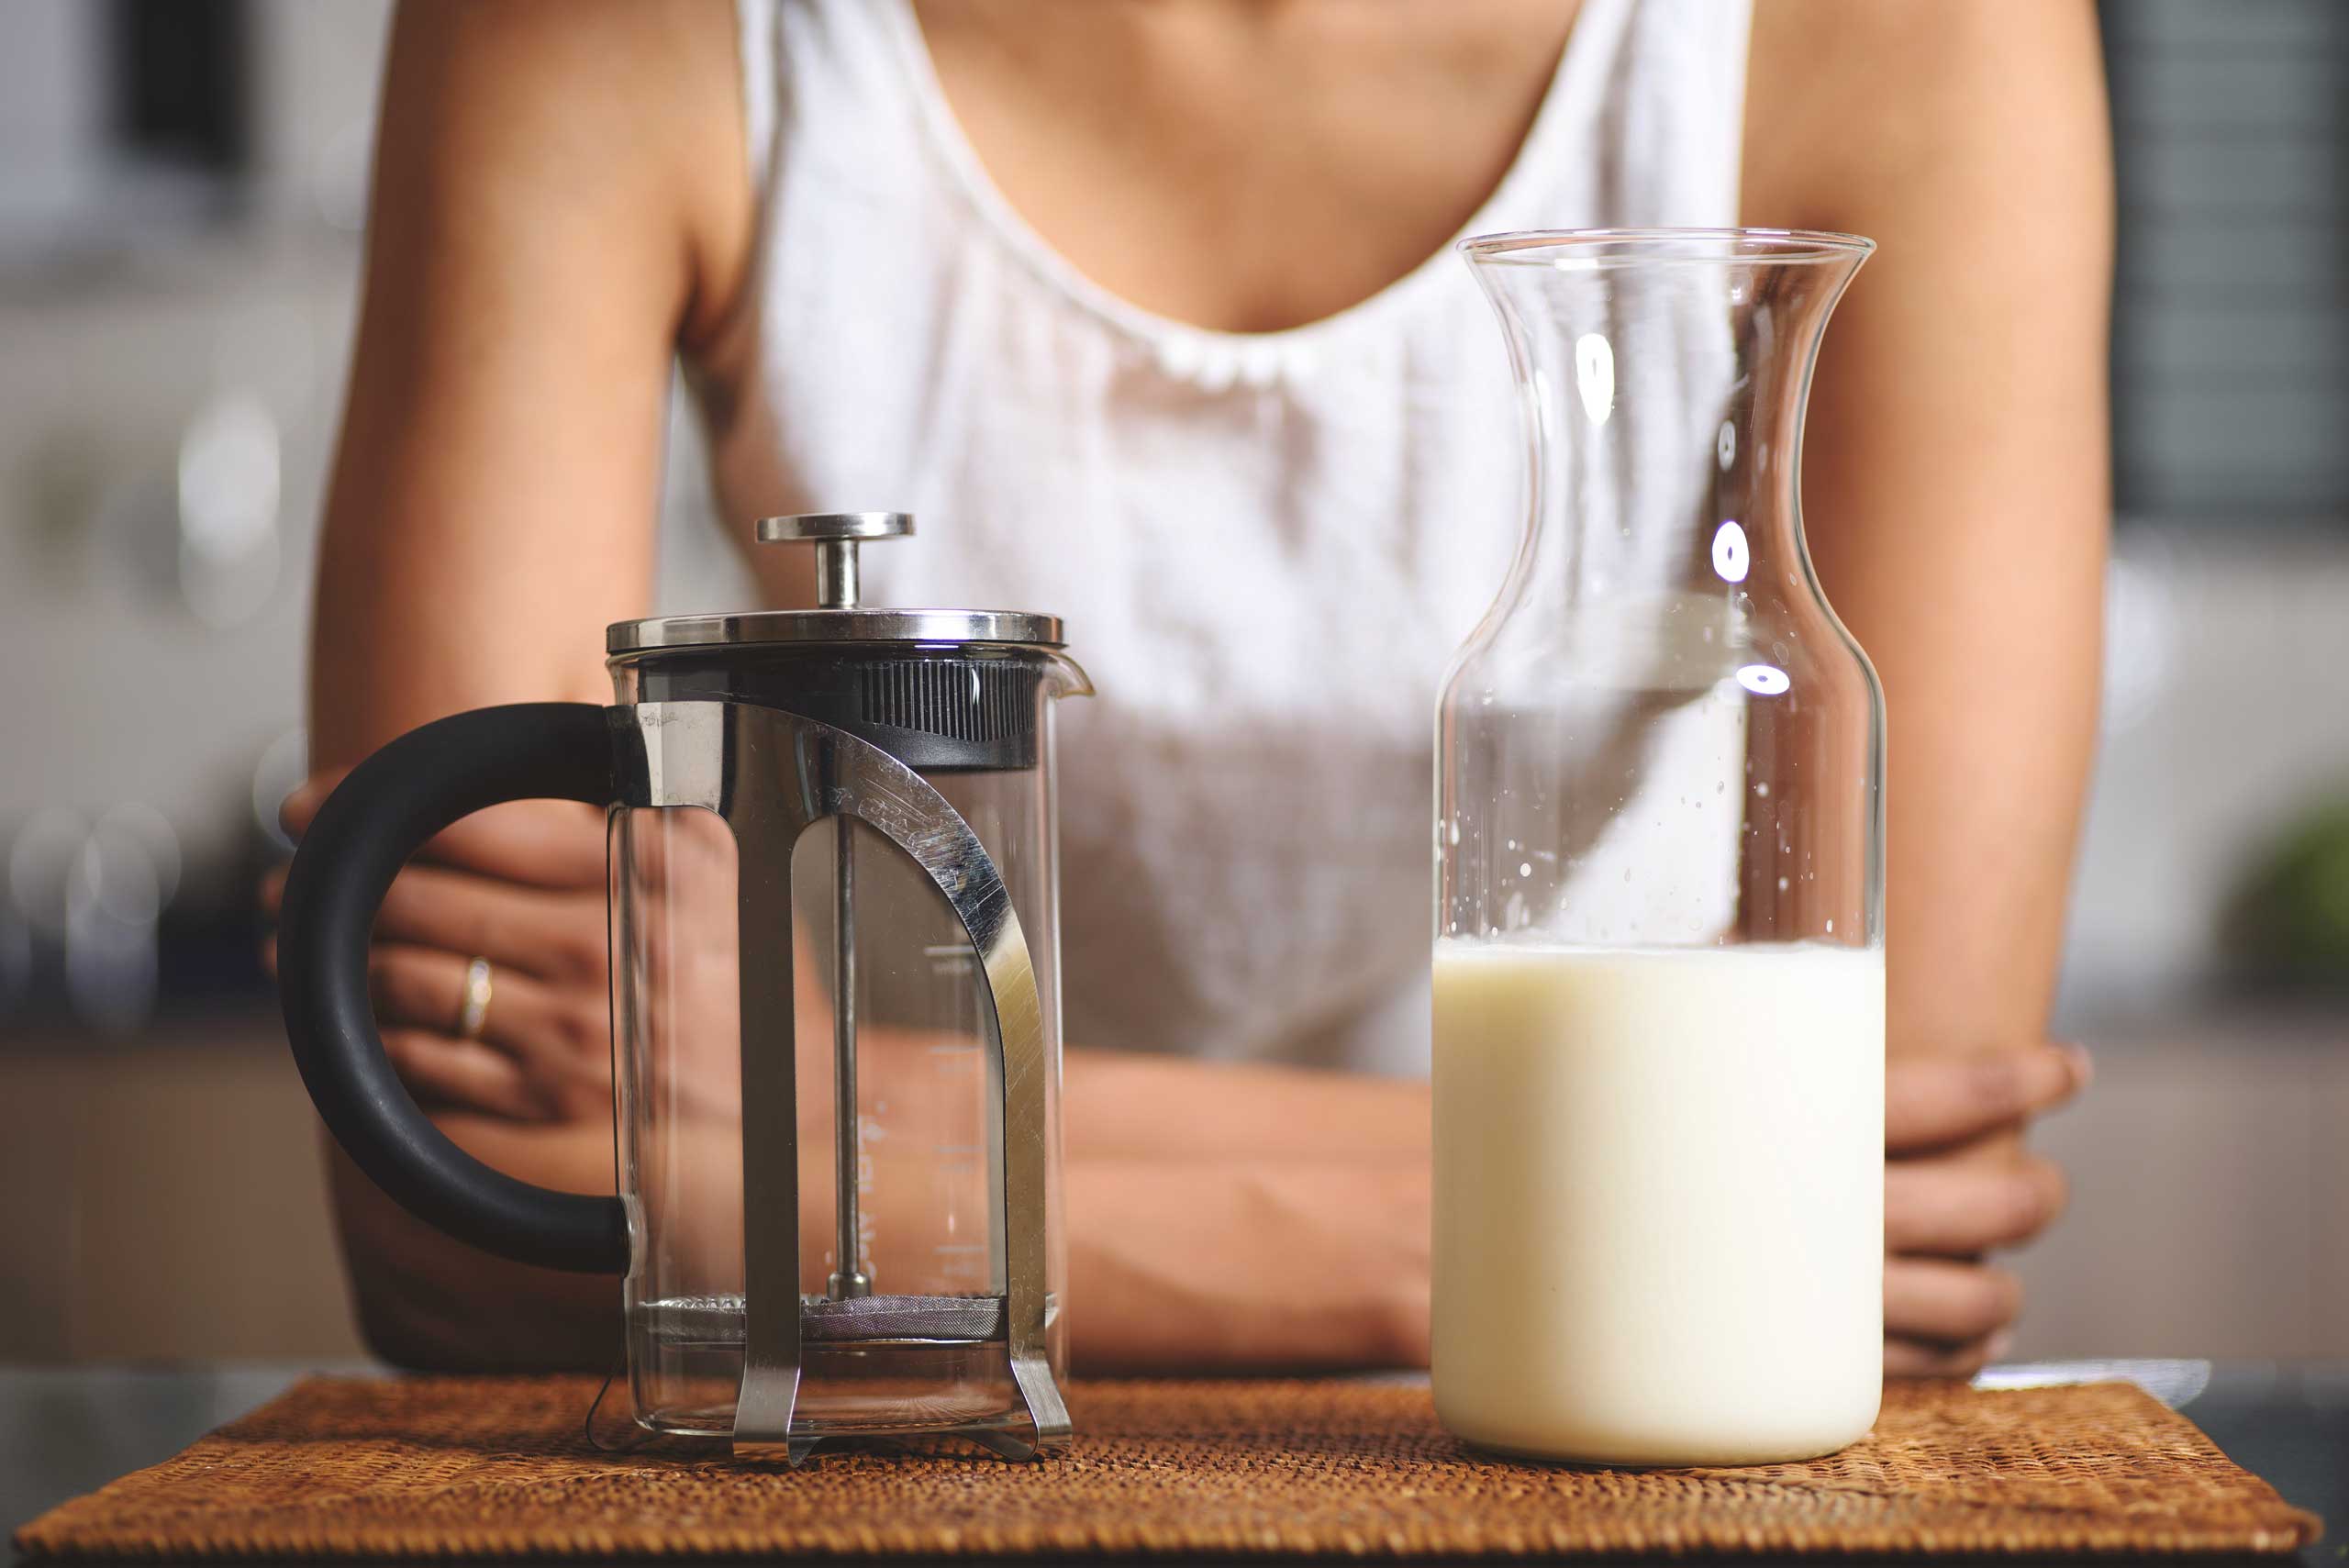
1. Purchase
Buy a french press. You don’t need a fancy one — just something basic and if it has a double mesh, that’s even better. Ideally you want a glass one because you can see exactly what you’re doing, but if you already own a metal one then don’t fret as that’ll work fine too.
You’ll know you’re done when the top surface starts to look glossy like paint.
2. Modify
In order to transform your french into a frothing beast you just need to make one small modification. Hold the mesh on the plunger with one hand and twist the handle with the other and you should be able to unscrew the entire mesh section. Also remove the tiny nut that keeps the mesh layers together. You can now remove the plunger column from the lid and reattach the nut and mesh, leaving you with a lid-free plunger, so you have full control over the movement.
One caveat here is that hot milk can now splash out and that can be both dangerous and messy. So proceed with caution and at your own risk.
French press mod
3. Heat & Preheat
Heat up your milk and while you wait, preheat your french press by pouring some hot water into it. This is to help keep your milk hot while you’re texturing it. Once your milk has reached the right temperature (~70°C), empty out the preheat water and pour the milk into your french press.
4. Stretch & Spread
In cafes baristas use a two-step process to texture milk with a steam wand. The first step is called the stretch, where one aerates the milk and the second is called the vortex which evenly distributes the incorporated air to create the silky, smooth texture. To achieve this with our modded French Press, we’ll be using two kinds of strokes with the plunger, the stretch and the spread.
The stretch essentially comprises of quick, short strokes that are restricted to the top surface of the milk. This motion pushes the air above the surface of the milk into the milk, creating bubbles. Do this 5-10* times to aerate.
The stretch
The spread involves deeper strokes that start fast and progressively get slower, with the plunger always fully submerged and never rising above the top surface of the milk. This takes the larger bubbles of air incorporated in the previous step, breaks them down into microfoam and spreads them evenly across the volume of milk. This can take 35-50* strokes.
The spread
You’ll know you’re done when the top surface starts to look glossy like paint. At this point remove the plunger, swirl the french press and tap gently on the counter a few times to remove any remaining larger bubbles. You can repeat this a few times as required.
Glossy paint texture
That’s it! You have perfectly textured milk that’s ready to be mixed with coffee to make a delicious drink. You could even use a milk pitcher to pour some fancy latte art.


* The number of strokes depends on the amount of milk, size of French Press and speed, so experiment and find what numbers work best for you. Tweak and repeat until you hit that optimum balance of foam and milk.